
A No‑BS Opening: Getting from ‘Bright’ to ‘Breathtaking’
Let’s call it: the room can be full, the track can slap, and the beams can still fall flat. Stage Laser Lights can turn a flat show into a memory. Picture a quick load-in, haze drifting, and your first cue snapping to life—only to feel “meh.” The gear says 3–5 W output, 30–40 kpps scanners, and a 30° scan angle. Your DMX512 universe has room to spare. Yet the crowd barely reacts. Why? In a lot of rigs, the math beats the magic: beam divergence eats brightness, galvo inertia blurs details, power converters add noise, and the haze is wrong for the room size. That’s the scenario. The data is there. The question is simple: how do you dial these variables so the look pops without safety flags, lag, or muddy color? (Because nobody wants a laser that looks like a tired flashlight.) Here’s the short answer: it’s not just power, it’s control—optics, timing, and environment working together. Stick with me, and we’ll map the “why” to a fix you can repeat between soundcheck and doors. Next up: the hidden gotchas.
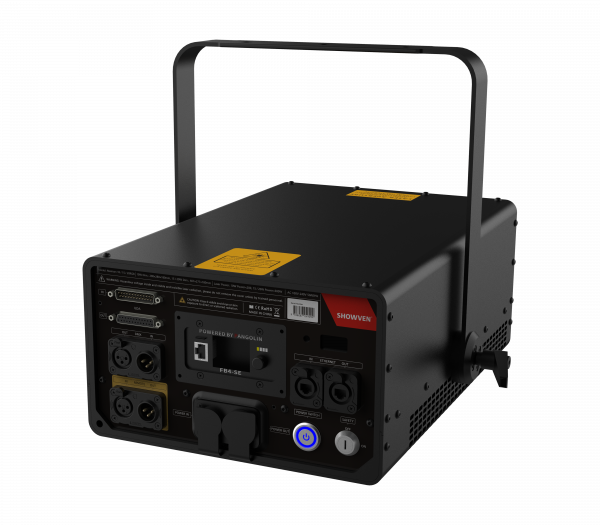
The Deeper Problem: Why Good Gear Still Underwhelms
If you’ve ever set up laser lights for stage and thought, “This is bright, so why does it still look soft?”, you’re not alone. Look, it’s simpler than you think. Most pain comes from three choke points: optics, motion, and control. First, optics. Beam divergence sets how tight the beam stays across distance; too wide and your 3 W looks like 1 W at the back rail—funny how that works, right? Second, motion. Galvanometer scanners have limits; push too much scan angle at high kpps and you smear corners, lose crisp frames, and kill aerial punch. Third, control. An ILDA file drawn for 20 kpps won’t hold shape at 35 kpps without point reduction or corner dwell tweaks. Add in DMX512 timing jitter and sloppy color modulation, and your gradients step instead of flow. The sum is underwhelming, even with “big numbers” on paper.
Why do “bright” lasers still look flat?
Hidden friction eats your look. Haze density is off (too much = cloud, too little = no beam). Safety interlocks force conservative zones that neuter the design. Cheap controllers clip color because the modulation bandwidth is low. Power converters and thermal management drift output as the night warms up—so your opener looks crisp and your closer looks dull. Latency creeps in if your signal chain hops through gateways. Even great hardware needs tuned scan angles, beam shaping, and frame optimization. Fixes are boring but powerful: match frame complexity to scanner speed, adjust dwell times on tight corners, keep divergence as low as your throw and rules allow, and set your haze to “just visible” not “fog wall.” Micro-changes stack. Do that, and you’ll feel the lift—on the floor and in the balcony—and yes, you can feel it from the pit.
Comparative Insight: Old Tricks vs New Principles
What’s Next
Old-school thinking says “more watts, wider angles, bigger scenes.” New thinking says “smarter photons, tighter control.” The new wave of stage laser lighting leans on principles that favor precision over brute force. Think dynamic power shaping tied to scan velocity, so corners stay crisp while long strokes stay smooth. Think color linearization LUTs that keep RGB balance steady at low intensity, not just at full. Think scan-fail protection that’s fast yet not overzealous. On the control side, timecode plus sACN or Art-Net reduces jitter; add edge computing nodes near FOH to trim latency. Hardware matters too: low-divergence optics, galvanometer scanners with real torque in the mid-band, and drivers with clean analog or high-resolution PWM. When these pieces click—optical alignment, motion profiles, and signal integrity—the look jumps without needing unsafe audience zones or wild haze. It’s still art. But it’s art that respects physics (and the fire marshal).
So, how do you choose gear and settings with confidence? Use three metrics you can actually track. One: optical power to divergence ratio—watts mean less if mrad is high; aim for tight beams across your throw. Two: usable scanner speed at your intended scan angle—verify kpps at 20°–30° with your actual frames, not a spec sheet loop. Three: control stack integrity—DMX512 for simple triggers is fine, but for complex cues favor ILDA or networked protocols with clean timing; check safety interlocks and response times. Evaluate, test, log. Then adjust haze, dwell, and color curves in small steps. The result is repeatable impact, not luck. Wrap that into your pre-show checklist, and your lasers stop being a gamble and start being your edge. For deeper references and gear standards, see Showven Laser.