Opening: what you actually need to know
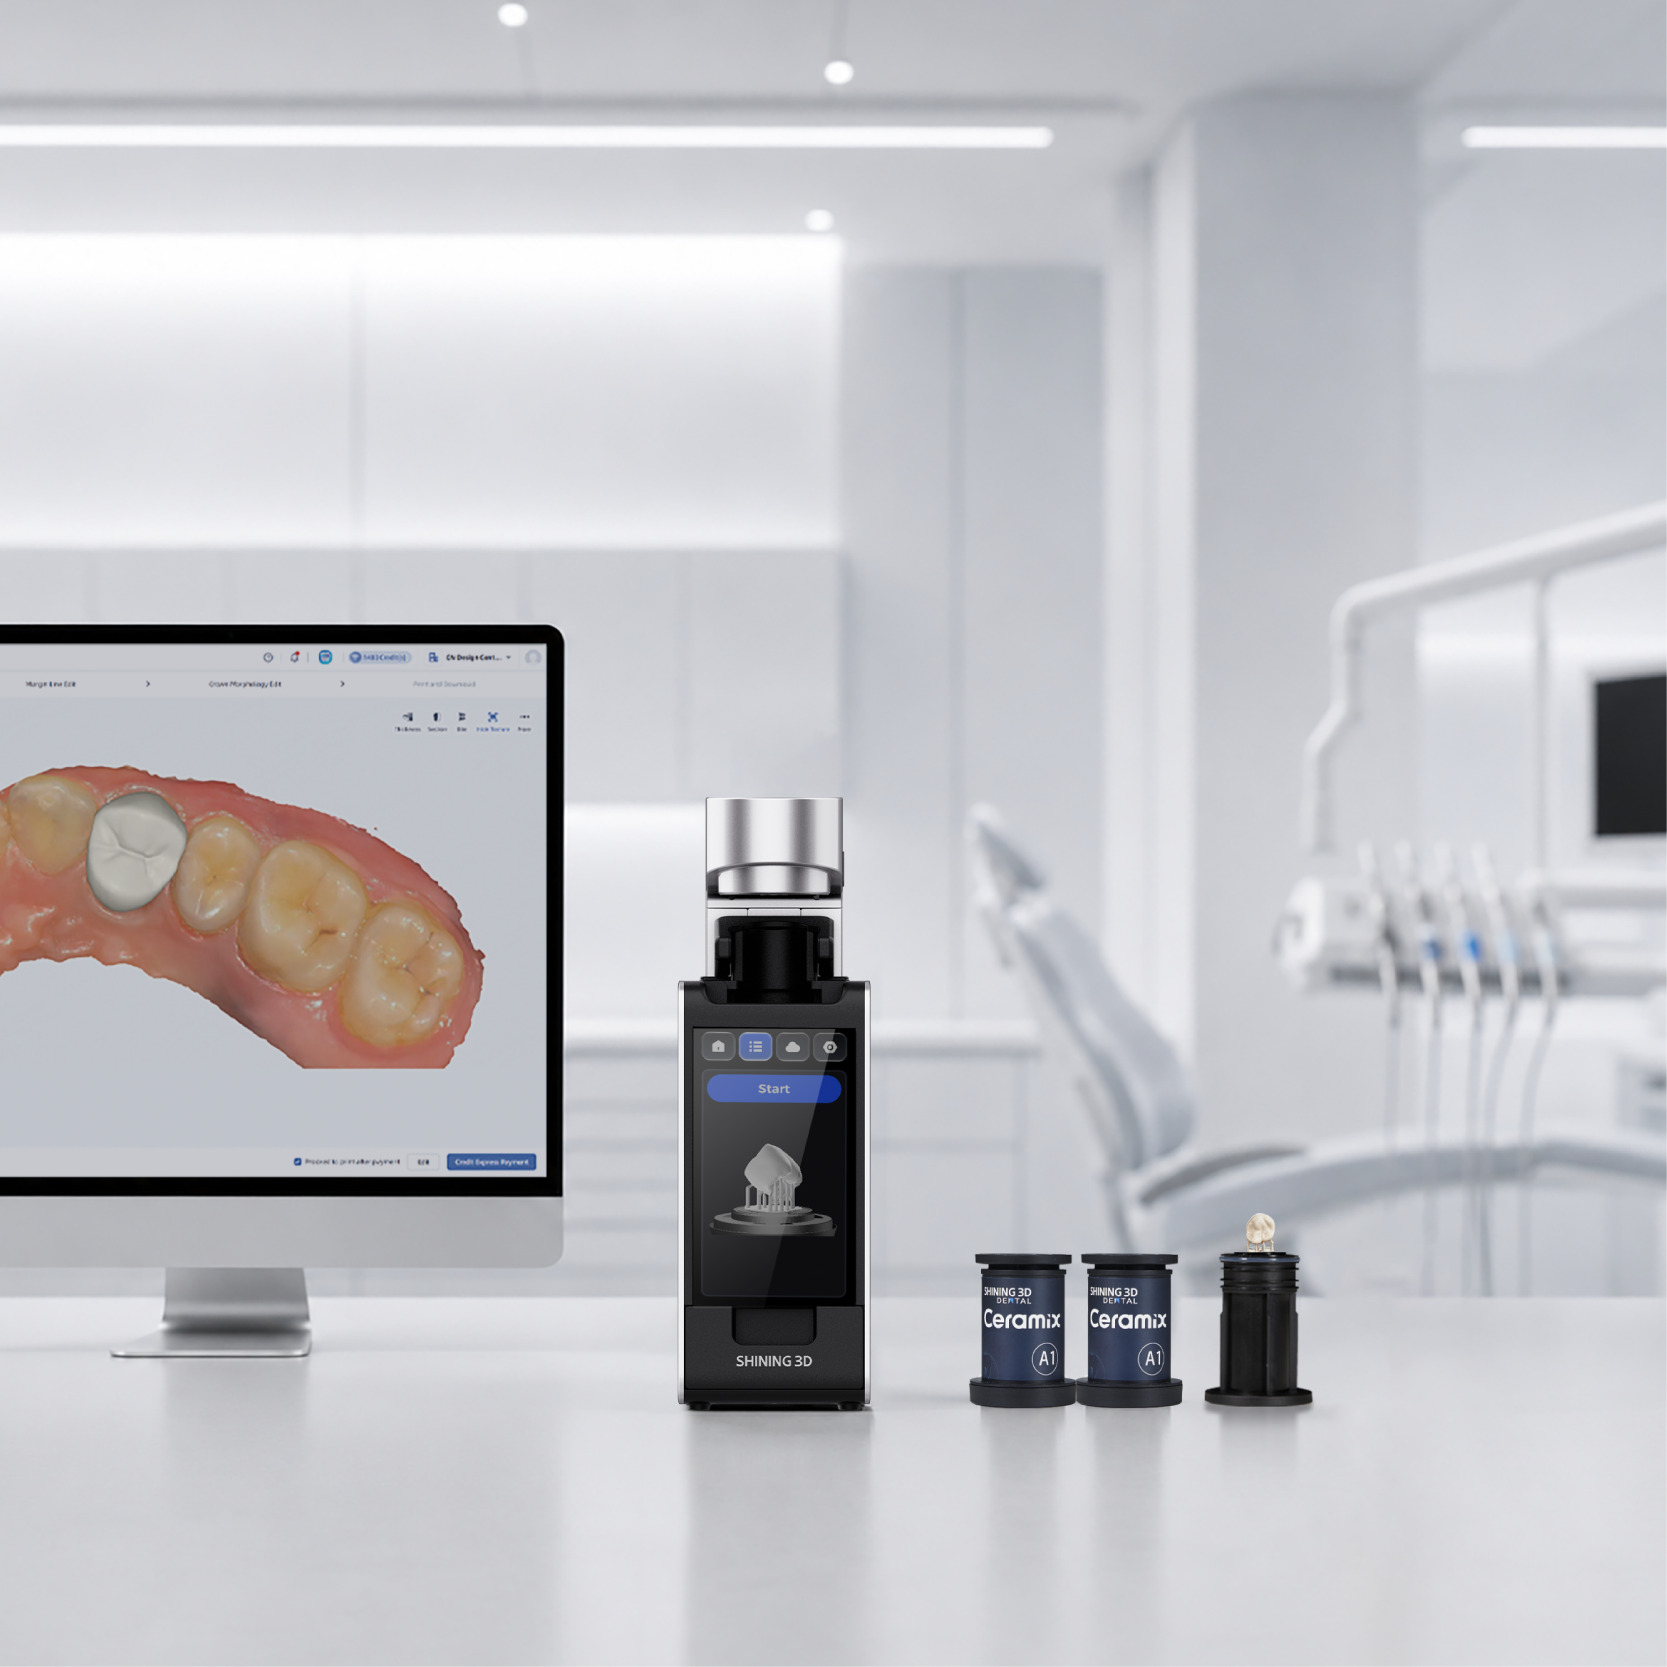
Righto — if you’re running cases through a dental lab or clinic, you want steps that make sense and waste less time. Start with a solid file and a reliable machine; I’ve found a good dental resin 3d printer means fewer surprises on the bench. This guide keeps things practical: how to prep files, what to watch during production, and how to check finished parts so patients get a tidy fit without rework.
File prep: the patient’s needs first
Think like the clinician. Match the output to the clinical goal — temporary crown, surgical guide, or full denture. Export STL with consistent resolution: don’t overdo polygon counts; that just chews processing time. Orient the model to reduce supports on critical fit surfaces. Slice with conservative layer height when fit matters; go faster on non-contact fixtures. Label files with patient ID, material, and intended post-process steps so the lab tech knows exactly what’s expected.
Material choice and machine match
Pick resin that suits the task — biocompatible for intraoral, high-strength for splints. Check the printer’s compatibility and exposure settings; they’re paired. Calibrate trays and check build plate level before a big run. If you’re juggling multiple jobs, create a short SOP that lists resin, exposure, and expected cure times. That keeps newer staff from guessing and cutting corners.
Print production: run it like a proper job
Watch the first layers. They tell you everything: adhesion, resin flow, alignment. Don’t leave long runs entirely unattended; a failed print can tie up the machine for hours. Keep cleaning supplies nearby and a routine for drain and refill. Balance batch size against post-processing capacity — printing more than you can post-process overnight causes bottlenecks and rushed finishing.
Post-print finishing and inspection
Rinse, cure, and check. Remove supports cleanly; avoid nicking contact points. Use a jig or caliper to spot-check critical dimensions, and log pass/fail for every batch. If fit issues show up repeatedly, revisit digital margins and support placement rather than forcing adjustments in the lab. Consistent documentation saves time when you need to trace a recurring fault.
Common pitfalls and quick fixes
Too many supports on mating surfaces — move them. Warped prints — check build plate leveling and resin temperature. Cloudy or sticky finishes — extend rinse and cure or swap out old IPA. Mislabelled files — institute a mandatory file-check step before slicing. Small changes early beat big fixes later.

Alternatives and trade-offs
Laser-sintered parts give strength but cost more and need different skillsets. Milling yields great fit for some restorations but wastes material and clamps you to the toolpath. Resin printing sits sweetly between speed and fine detail for many dental uses, especially when you want quick-turn appliances without sending cases off-site. Choose based on turnaround, fit tolerance, and lab capacity.
Real-world test and credibility
Our team ran a year-long trial with a Wellington private dental lab, logging fit rates and rework across 500 cases, and we found consistent time savings when operators followed a clear prep-and-post plan using a resin 3d printer dental. That hands-on testing shaped the checklist above: small operational tweaks cut reprints from a handful per month to almost none, and staff confidence climbed as procedures became repeatable.
Wrap-up: practical takeaway
If you’re after predictable, patient-ready parts, start with the clinical brief, keep file prep tight, monitor prints closely, and standardise post-print checks. Do that and you’ll reduce rework, speed delivery, and make life easier for clinicians and techs — the kind of clear result we aim for when using kit from SHINING 3D DENTAL, which backs the sorts of workflows and materials that let teams focus on fit and care rather than firefighting.